Powder on a Budget: Your No-Nonsense Guide to Getting Into Splitboarding Without Going Broke

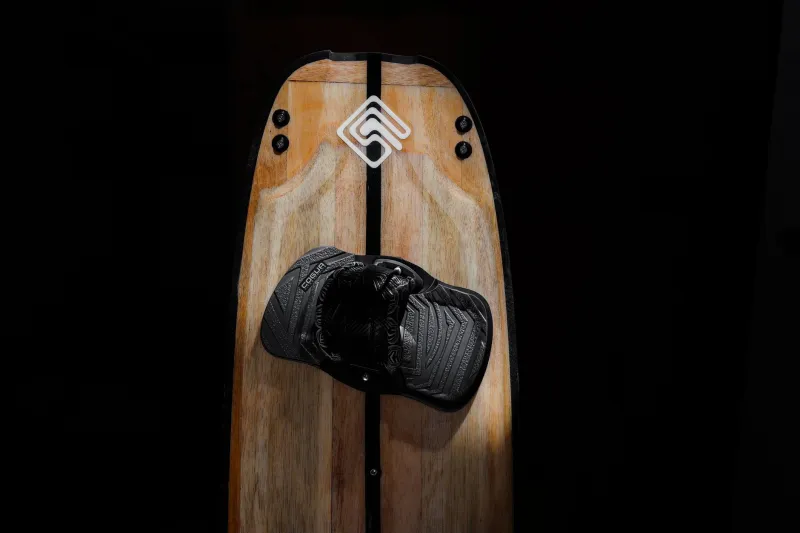
Photo by Photo by Matthew Stephenson on Unsplash on Unsplash
Let's be honest. The first time most riders look up a full splitboard setup, they close the browser tab in mild panic. Between the board, bindings, skins, boots, beacon, probe, shovel, and all the other gear the internet insists you absolutely need, the sticker shock is real. It can feel like backcountry riding is a members-only club with a five-figure entry fee.
It isn't. Not even close.
The truth is, a lot of the cost bloat around splitboarding comes from gear anxiety, aggressive upselling, and first-timers buying everything at once at full retail price. Smart riders know there's a better way. Whether you're a resort regular looking to explore beyond the rope line or someone who's been dreaming about untracked powder for years, here's how to build a legitimate splitboard kit without doing serious financial damage.
Start With the Non-Negotiables: Safety Gear Comes First
Before you buy a single piece of riding equipment, let's get one thing straight: your avalanche safety kit is not where you cut corners. A beacon, probe, and shovel are the bare minimum for anyone venturing into avalanche terrain—and you should also be taking an avalanche safety course (AIARE Level 1 or equivalent) before you head out. That course will cost money too, and it's worth every penny.
For safety gear, buying used is acceptable if you know what you're looking at. Beacons should be relatively current models with three-antenna technology—check that any used unit hasn't been discontinued and still has functional firmware support. Probes and shovels from reputable brands like Black Diamond, BCA, or Mammut hold up well secondhand. Budget around $300–$450 for a complete safety kit if you shop smart. Full retail on a quality setup runs $500–$600+, so there's real savings to be had here.
The Splitboard Itself: Where to Find Real Value
New splitboards from major brands like Burton, Jones, Lib Tech, or Capita typically run $600–$1,000+. That's a lot. But the used splitboard market is surprisingly healthy, especially if you're shopping on platforms like Evo's used gear section, Gear Trade, or local Facebook buy-sell-trade groups for snowboarders.
What to look for in a used split: check the edges for major chips or rust that's worked into the base metal, inspect the base for deep gouges that haven't been filled, and make sure the tip-to-tail clip system is intact and functional. Cosmetic scratches? Totally fine. A splitboard with a season or two of use but solid structure can often be found for $300–$500—sometimes less if the seller is motivated.
For beginners, you don't need a high-end race-tuned split. A mid-flex all-mountain shape in the 155–162cm range (depending on your height and weight) will serve you well across most backcountry terrain you'll actually encounter in your first couple of seasons.
Bindings and the Interface System: Don't Cheap Out Here
Here's where a lot of new splitboarders get tripped up. Splitboard bindings aren't just regular bindings—they need to work with a touring interface that allows your heels to lift for skinning uphill. The two dominant systems right now are Spark R&D and Karakoram, and both are genuinely excellent.
The interface system is one area where buying used requires extra caution. Make sure the hardware is complete, screws are intact, and the pivot mechanism moves smoothly. A damaged interface can compromise your uphill efficiency significantly. Budget $200–$350 for a used binding and interface combo from a reputable brand. New setups from Spark R&D run $400–$550+, but their used market is solid because the gear lasts.
If you already own a great pair of resort bindings, some interface systems can be adapted to work with them—though dedicated splitboard bindings will always perform better on the skin track.
Climbing Skins: The Gear Most Beginners Overspend On
Skins are the adhesive-backed fabric strips that attach to the base of your split halves and allow you to walk uphill without sliding backward. They're essential, and they're also one of the most overpriced categories in backcountry gear when bought new.
Brands like G3, Black Diamond, and Pomoca make excellent skins, but new sets run $120–$200+. The good news? Skins are very buyable used as long as you check the glue. The adhesive should be tacky and even—not dried out, peeling at the edges, or full of debris. Skins with compromised glue can be re-glued with aftermarket adhesive, but that's extra work. A good used set in solid condition typically runs $50–$90.
Make sure you're buying skins that match your board's tip and tail width, or get universal-cut skins you can trim to fit. Most come with trim guides.
Boots: Your Resort Boots Might Already Work
This is where a lot of prospective splitboarders get a pleasant surprise. If you already own a solid pair of stiff-to-medium snowboard boots, there's a decent chance they'll work fine for splitboarding—at least in the beginning. You don't need specialized backcountry boots to get started.
That said, purpose-built splitboard boots from brands like Deeluxe, Salomon, or Scarpa offer real benefits: better ankle support on the skin track, improved warmth for longer tours, and walk modes that make uphill travel more comfortable. If you're eventually going to invest here, the used market is again your friend. Expect to pay $150–$300 for quality used boots that are still in good structural shape.
Building Your Kit Over Time: The Phased Approach
One of the most financially sustainable ways to get into splitboarding is to resist the urge to buy everything at once. Here's a realistic phased approach:
Phase 1 – Safety First: Get your beacon, probe, shovel, and take your avalanche course. This is non-negotiable and should happen before anything else.
Phase 2 – Board and Bindings: Source a used splitboard and a compatible binding/interface system. This is your biggest gear investment and where patience pays off.
Phase 3 – Skins and Accessories: Add skins, a lightweight pack (25–35L), and any layering upgrades you need for longer days out.
Phase 4 – Optimize: Once you've done a season or two and know what you actually want, upgrade the pieces that are limiting you.
Total realistic budget for a complete beginner setup built smart: $900–$1,400. Not free, but nowhere near the $3,000+ figure that scares most people off.
The Biggest Trap: Buying for the Rider You're Not Yet
The most expensive mistake new splitboarders make is buying gear for the elite-level backcountry riding they imagine doing someday, rather than the intermediate touring they'll actually be doing in their first two seasons. Ultra-lightweight carbon race boards, high-end AT boot systems, and precision race skins are incredible tools—for riders who genuinely need them. For someone doing 2,000-foot tours on moderate terrain? Total overkill.
Buy for where you are now. You can always upgrade when your skills and ambitions outgrow your current setup.
The Bottom Line
Splitboarding is one of the most rewarding evolutions a snowboarder can make. The quiet of the skin track, the earned turns, the terrain you access when you're willing to work for it—there's nothing else like it. And none of that requires a massive financial commitment upfront.
Shop used, prioritize safety, buy for your current level, and build your kit over time. The mountain doesn't care what your gear cost. It just wants to know if you showed up.